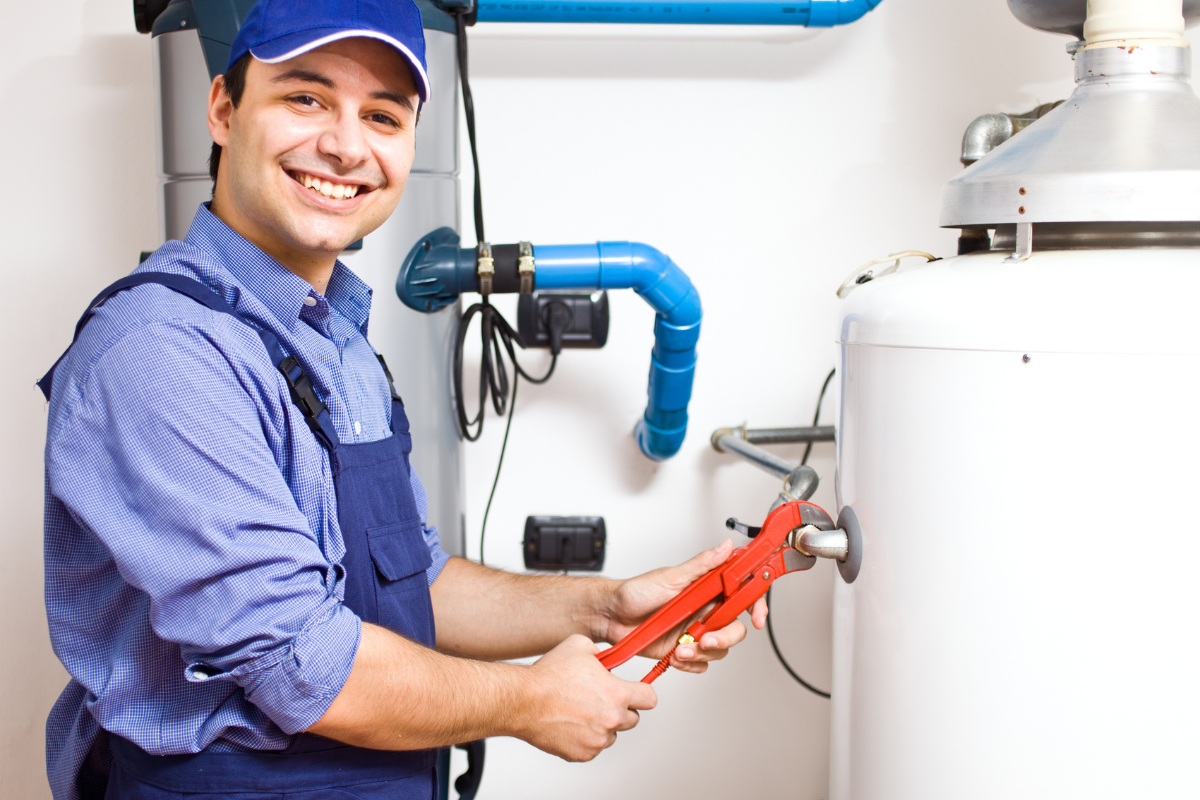
Older homes have personality you can’t buy at a big-box store. They also hide quirks that make a straightforward water heater installation turn into a half-day puzzle. If you’re planning a tank water heater installation in a house built before the mid-1980s, expect surprises behind access panels and in utility closets. The work can still go smoothly, but it takes a careful eye, the right parts on the truck, and respect for how these structures were built.
I have replaced well over a thousand water heaters in homes ranging from 1890 Victorians to midcentury ranches and 1970s colonials. The patterns repeat. Plumbing that predates current code. Flues undersized for modern appliances. Crawlspaces that require a yoga warmup. The stakes are more than comfort. A sloppy job can cause carbon monoxide issues, leaks that find their way into plaster ceilings, and scald risks for kids or seniors. Here’s how to approach water heater replacement in an older home so you get reliable hot water without creating a different problem.
Tanks, tankless, and what the house will tolerate
A lot of homeowners call asking about tankless water heater installation because they’ve heard the efficiency numbers. Tankless can be a smart move, but older homes aren’t blank canvases. Gas lines in pre-1970 homes were often sized for a 30,000 to 50,000 BTU furnace and a 30,000 BTU water heater, with a 1/2-inch branch to the heater. Modern tankless units can demand 150,000 to 199,000 BTU. That usually means upsizing a long run of gas line, sometimes all the way back to the meter. I’ve had projects where the material and labor to resize gas piping doubled the cost of the heater itself.
With a tank water heater installation, the BTU input is lower, clearances are familiar, and venting often matches existing infrastructure. If you’re replacing like-for-like, it’s often simpler and more cost effective. In older masonry chimneys or single-wall vent runs, a standard atmospheric tank might still be compatible, though careful vent sizing and condition checks are non-negotiable. A power-vented tank that uses PVC sidewall venting can bypass a sketchy chimney completely, which is handy when the flue is cracked or unlined.
Bottom line, let the house weigh in on the decision. If the existing vent path is good and gas delivery is adequate, a tank replacement can get you 10 to 12 years of service with predictable maintenance. If you’re redoing a mechanical room anyway, or you have long hot water piping runs and need endless hot water for a large family, tankless starts to make more sense. Just budget for the upstream changes.
Capacity, recovery, and the way older homes live
Many older homes still have 40-gallon tanks because that was the standard for decades. Families haven’t gotten smaller, and tubs haven’t either. I see clawfoot tubs in 1920s bungalows that take 50 to 60 gallons to fill to a comfortable level. If you’ve got morning shower overlap or a big soaking tub, step up to a 50-gallon tank or a higher BTU model with faster recovery. A 40,000 BTU 40-gallon tank will often leave you cold on Saturday mornings. A 50-gallon with 50,000 BTU can keep up better without changing the footprint too much.
For older homes with limited electrical service or weak gas supply, there are compromise options. High-input 40-gallon tanks recover faster in the same footprint, and heat pump water heaters (hybrids) can drop operating costs if the mechanical space can tolerate the cool exhaust air and you have the electrical capacity. Heat pump units work well in basements that sit above 50 degrees year-round, but they need clearances and condensate management, and they may require upgrading to a dedicated 240-volt circuit. That can be a stretch in 60-amp or 100-amp panels that are already packed.
Common code gaps you’ll meet in older houses
Few water heater installations in homes older than the 1980s are plug-and-play from a code perspective. Expect to update safety features that weren’t enforced when the last heater went in.
- Seismic strapping where required. In seismic zones, older units often lack proper strapping into wall studs. Modern codes usually require two straps, top and bottom third of the tank, with blocking as needed. I carry metal stud finders and 2x framing blocks for this reason. Expansion control. When a pressure-reducing valve or a check valve sits on the main, thermal expansion can spike pressure to 120 psi or higher after a heating cycle. Older installs rarely have a thermal expansion tank. Adding one protects fixtures and the heater, and it’s cheap insurance. T&P discharge line. The temperature and pressure relief valve must drain by gravity to an approved location. I still find lines that terminate two feet above a floor or, worse, are capped. Fix this every time. Scald protection and pressure relief are not optional. Drip legs and sediment traps. Gas codes require a sediment trap at the appliance. A surprising number of older installs skip it. It takes five minutes to add and can prevent a sticky gas valve. Vacuum relief, pan drains, and combustion air. In tight closets or basements, ensure combustion air is adequate. Many older homes had leaky envelopes. After weatherization, those closets can be starved for air. Pan drains save finished spaces when tanks fail.
The specifics vary by jurisdiction, but a seasoned water heater installation service will bring these items without making a second trip.
Venting reality checks: chimneys, liners, and backdrafts
Atmospheric vented tanks rely on a natural draft. That draft only works if the vent path is smooth, sized correctly, and warm enough. Chimneys built before 1950 often lack liners. Mortar joints can crumble, and cold brick sucks heat out of flue gases. The result is condensation inside the flue that damages masonry and can lead to backdrafting.
Signs of trouble include scorch marks around the draft hood, rusty streaks on the tank, and a persistent smell of exhaust near the unit. I test draft with a smoke pencil after firing the appliance for several minutes, and I watch for spillage. If spillage persists, I stop and discuss options: install an appropriately sized liner, switch to a power-vented tank that sidewalls in PVC, or relocate the unit.
Here’s a scenario I see regularly. A new high-efficiency furnace with PVC venting replaces an older unit that used https://rowanvgse917.cavandoragh.org/warranty-tips-for-your-water-heater-installation-service the chimney. The remaining water heater still tries to vent into the large masonry flue. The chimney is now oversized for the small flue volume and cools too quickly, so draft collapses. The cure is a metal liner sized to the water heater’s input. Skipping this step is an invitation for carbon monoxide issues. Expect a modest increase in project cost, but it’s far cheaper than a CO event or a masonry repair a year later.
Single-wall vent connectors are another relic. Where code allows, double-wall B-vent is a better choice near combustible framing. Maintain proper pitch, support, and avoid long horizontal runs. For power-vented or direct-vent tanks, respect manufacturer-specified vent lengths and terminations, and think about noise. A direct-vent motor can hum in a bedroom-adjacent closet. Add vibration isolation and route with a gentle radius to keep neighbors and family happy.
Gas lines that have seen things
I’ve met every kind of gas piping in older homes: black iron, galvanized remnants, soft copper from an era when that was allowed locally, and flexible CSST in newer retrofits. The pressure test during a water heater replacement is where old leaks come to light. If you open a union and find threads that crumble, budget to replace back to the nearest sound joint.
Undersized gas lines are common with tankless, but they also show up with standard tanks when a kitchen remodel adds a high-BTU range. If the water heater shares a branch with a 60,000 BTU cooktop and a gas dryer, that 1/2-inch line can be marginal during peak use. You may see low flame or nuisance outages. A competent installer will run the numbers using the gas code tables, factoring total length and fittings. Don’t guess. Upgrade where needed so the new heater performs as promised.
Outdoor meter capacity can also bite you. Older meters sometimes top out at 200 CFH. Add a tankless at 199,000 BTU, and you’re flirting with the limit when the furnace kicks on. The utility can often swap a larger meter at no cost, but it requires scheduling.
Water quality and the anatomy of a long-lasting tank
The quiet killer of glass-lined tanks is water quality, not calendar age. Hard water chews through anode rods, fills the bottom of the tank with sediment, and bakes on heating surfaces. In older homes on well systems, I see tanks fail as early as year six because anode rods were never checked. On city water with moderate hardness, I routinely see 12 to 14 years.
If you’re already doing water heater repair frequently, planning a water heater replacement is a chance to reset the clock. Ask the installer to pull the factory anode and replace it with a segmented magnesium anode that’s easier to service in tight spaces. If headroom is limited, flexible anodes snake in without hitting a joist. In corrosive water or if the home uses a water softener, consider an aluminum-zinc anode to reduce odor issues.
Sediment flushing still matters. Older basements often put the heater below the nearest floor drain, which tempts people to skip annual flushing due to the mess. A simple solution is to add a boiler drain with a garden hose connection and a short sump pump to a sink. Fifteen minutes once a year can extend the tank’s life by years, and it maintains efficiency, which shows up on the gas bill.
Electrical and bonding details that get overlooked
Gas water heaters still need electrical work in many jurisdictions. If you install a power-vented tank or a heat pump unit, plan for a dedicated receptacle within cord length. In older basements, outlets are sometimes on knob-and-tube or ungrounded circuits. Bring it up to modern standards for safety and to keep the warranty intact.
Bonding across hot and cold lines is another detail that older homes often lack. When dielectric unions separate copper from steel, you break electrical continuity. Bonding jumpers across the heater’s connections prevent stray voltage issues and help sacrificial anodes do their job. It’s a small piece of copper wire with clamps, but it speaks volumes about the thoroughness of the installation.
Space, clearances, and the realities of old closets
Older homes rarely give you a generous mechanical room. I have worked in triangular closets under stairs where removing the old 48-inch-tall, 24-inch-diameter tank was like solving a riddle. Measure every dimension before you order a replacement: height with draft hood, diameter with insulation, and required clearances for service. If the tank sits on a stand to raise the burner above a garage floor, confirm stand height and load rating. Don’t assume the original platform is up to the task.
Combustible clearances matter. Many older installations have wood shelves flirting with draft hoods, or insulation stuffed around vent pipes. Today’s codes provide clear guidance for minimum spacing around vents and flues. If a closet door is louvered and opens to a conditioned space, calculate combustion air based on room volume and BTU input, or provide dedicated makeup air. After weatherization, houses breathe less, which is good for energy bills but hard on draft appliances.
When space is painfully tight, short and wide “lowboy” tanks can fit under counters or in crawlspaces, but they have trade-offs in recovery. A power-vent tank can sometimes sit farther from the chimney and vent sideways, freeing you from a bad closet altogether.
Drainage, pans, and the path water will take when things go wrong
In a 1920s two-story, I once replaced a tank perched in a second-floor linen closet. No pan, no drain, no shutoff worth trusting. The previous failure stained a plaster dining room ceiling below and led to a containment tent. That bill dwarfed the cost of a pan and a drain. If the heater sits anywhere above finished space, install a pan and route the drain to daylight or an approved receptor. Add a leak detector with a shutoff valve if there is no gravity drain path. It’s an extra hour today versus a week of disruption later.
Vacuum breakers on cold water lines are required in some locales when the heater sits above fixtures. They protect against siphoning the tank in a negative pressure event. They are inexpensive and easy to add while the piping is open.
Valves, unions, and the joy of future service
An older home is a museum of fittings. I treat water heater replacement as a chance to simplify and standardize. Full-port ball valves on both hot and cold, installed with enough straight pipe to accept wrenches later, make future service possible. Dielectric unions prevent galvanic corrosion where copper meets steel. Flexible stainless steel connectors can help in tight spots, but I prefer hard piping where vibration or heat might stress flex lines, especially near power-vent exhausts.
On the gas side, a new shutoff valve and connector with proper sediment trap pays off the first time you need to service the gas valve. Keep joints accessible and avoid burying unions behind drywall or cabinetry rework.
Permits, inspections, and how they help you
Some homeowners bristle at the idea of pulling a permit for a straightforward water heater installation. In older homes, that second set of eyes often catches things even good installers can miss, especially with venting. Inspectors in my area are approachable and generally want safe installs, not gotchas. The paperwork also documents that the water heater services were done to current standard, which matters for insurance claims and future sales.
Schedule matters. If your old tank just ruptured, you want hot water tonight. Many jurisdictions allow same-day emergency replacements with a follow-up inspection. A reputable water heater installation service will know the local path and can keep you compliant without losing time.
Budgeting with the hidden line items in mind
People often anchor on the cost of the tank and ask why the total is higher. Older homes have legitimate adders that aren’t always visible until we open things up: vent liner, gas line upsizing, expansion tank, pan and drain, electrical outlet, or correcting a code violation left by a previous owner. A realistic budget for a standard 40- or 50-gallon atmospheric tank replacement in an older home can range from a base price to something 30 to 80 percent higher depending on what turns up. Power-vented units start higher but can save you the cost of a chimney liner. Tankless swings even wider because of gas and venting upgrades.
If the installer provides an estimate that seems low but includes no line items for contingencies, ask what happens if the chimney needs a liner or the shutoff valve crumbles. Clarity up front prevents tension later.
When repair makes sense, and when replacement is smarter
I’m glad to repair a working heater with a minor issue. Replacing a thermocouple, cleaning a flame sensor, or swapping a leaking drain valve can buy time. But if the tank is over 10 years old and showing rust at the base, repair is a gamble. Internal rust seldom gets better, and the second leak often finds you at midnight.
For electric tanks, replacing failed elements or thermostats can be worthwhile if the tank body is sound. For gas, a failed control valve can be replaced, but the part cost plus labor often nudges you toward replacement on older units. If you’re already contemplating a remodel or panel upgrade, align the water heater with that work.
A practical path to a smooth install
Here is a concise checklist I use in older homes to avoid callbacks and surprises.
- Verify fuel and venting: measure vent size and condition, test draft, confirm gas line sizing back to the meter. Check code items: seismic straps, expansion tank, T&P discharge route, sediment trap, bonding. Evaluate water quality: test hardness, choose appropriate anode, plan for annual flushing access. Plan space and logistics: measure clearances, doorways, pan and drain route, electrical receptacle needs. Document and communicate: price contingencies, permit plan, inspection timing, and disposal.
A few field notes that might save you a headache
A 1955 ranch with a masonry chimney taught me to carry liners in common sizes. The homeowner had replaced the furnace with a sealed-combustion unit, leaving the water heater alone on the chimney. Draft failed twice during testing. We lined the flue to the correct diameter and the spillage stopped. The gas bill went down the following month because the water heater finally drafted properly.
In a Victorian with ornate plaster, I insisted on a pan and leak sensor despite a tight closet. Six months later, a cracked plastic cold-water tee, not the heater, leaked. The sensor tripped the auto-shutoff. The homeowner called to say thank you, and that call will stick with me longer than any marketing brochure.
I had a tankless project in a 1930s Tudor where the nearest gas main tap was 70 feet away through a finished basement ceiling. The homeowner loved the idea of endless hot water, but the price to upsize the gas line and patch the ceiling was not what they expected. We switched to a high-input 50-gallon power-vented tank. It fit the venting constraints, handled back-to-back showers, and cost half as much as the tankless route would have. Matching the equipment to the house is not compromise, it’s wisdom.
Choosing the right partner and asking the right questions
Older homes reward experience. When you call for water heater services, ask how many installations the crew has done in pre-1970 houses and whether they carry liners, expansion tanks, and common gas fittings on the truck. Ask how they test for draft and gas leaks, whether they flush the tank on startup, and how they handle permits. If someone quotes a price before they’ve seen the vent path or asked about the age of your chimney, be cautious.
Look for licensing, insurance, and a track record with both water heater replacement and water heater repair. You want someone who will save a unit when it makes sense and replace it when that’s the smarter call, not a one-size-fits-all script. Good installers also set expectations. They explain why a thermal expansion tank shows up on your invoice and what problem it prevents.
Final thoughts from the crawlspace
A water heater is simple on paper: cold in, hot out, safe venting, and a relief valve in case things go wrong. In older homes, those four elements intersect with the building’s history. Respect the chimney, vet the gas supply, control expansion, and plan for leaks. Solve the space puzzle without cutting corners. Spend a few extra minutes with a smoke pencil and a manometer. The right details turn a routine water heater installation into a quiet success that no one thinks about for a decade.
Whether you choose tank or explore tankless water heater installation, the goal is the same: dependable hot water, safe operation, and an installation that doesn’t create new vulnerabilities. With a little foresight and a pro who knows the terrain, your old house can keep its character and gain modern reliability where it counts.
Best Plumbing Repair of San Diego LLC
Address: 2667 C St, San Diego, CA 92102
Phone: (619) 547-0097
Website: https://plumbergoldenhillsandiego.com/
Google Map: https://openmylink.in/r/best-plumbing-repair-san-diego-llc